Showing posts with label Sweet recipe. Show all posts

Tuesday, April 5, 2016

Making Sakura Mochi


Sakura Mochi (cherry blossom mochi) is a very popular seasonal Japanese dessert in the spring time. There are two kinds of Sakura Mochi. For the eastern (Tokyo) style, anko (sweet azuki bean paste) is wrapped in a thin pancake, and for the western (Kyoto) style called "Domyoji", anko is wrapped in a sticky layer made of domyoji (cracked mochi rice) flour.

I'm from Tokyo, but I love the western style, Domyoji, and I've been making them at home almost every spring time past years.

The ingredients are not very easy to find outside of Japan. This time, I got all the top quality ingredients back from Japan. So, I was especially excited.
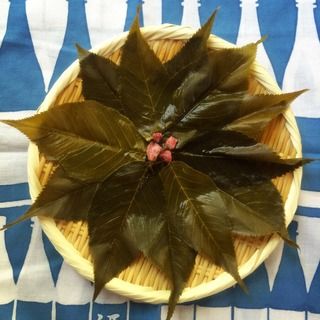
 photo IMG_8579_zps8whozhly.jpg
Salt-marinated sakura (cherry blossom) leaves (from Izu) and flowers (from Okayama). They were rinsed to remove excess saltiness and set aside.
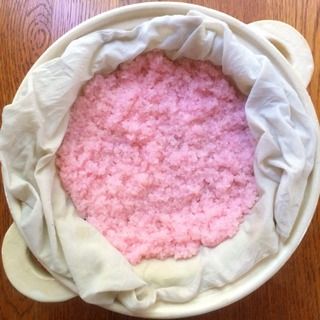
 photo IMG_8598_zpslhmhuovu.jpg
Domyoji-ko is made from mochi rice (sweet rice), which was steamed, dried, then cracked into a course powder. For sakura mochi, tiny amount of food coloring is used to give the light sakura color before cooking it. And, past years, I made my Sakura Mochi without coloring the domyoji-ko. This time, I found domyoji-ko which was already colored in pink. I steamed it in my donabe steamer, "Mushi Nabe", it came out so pretty! I see many people cook domyoji-ko in microwave for convenience, but I highly suggest you do the traditional way, steaming! Domyoji-ko, steamed in donabe has the best texture and the flavor.
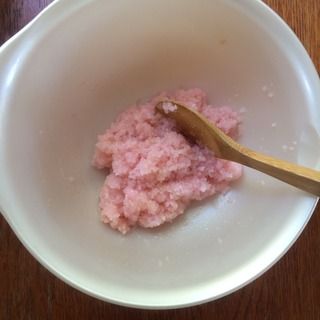
 photo IMG_8583_zpsph8m7dv2.jpg
Once the domyoji-ko is steamed, a small amount of sugar is added and mixed. Then, I wrapped anko (sweet azuki bean paste...I used coarse kind from Hokkaido) with it.
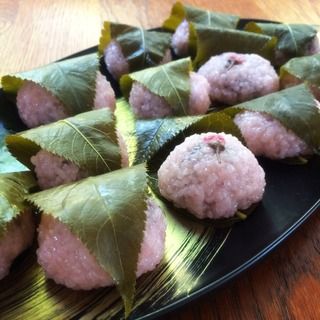
 photo IMG_8604_zpschmigzzl.jpg
To finish, each piece was topped with a salt-marinated sakura flower and wrapped in a sakura leaf. They were so good that I always feel nothing can beat homemade Sakura Mochi! I made 12 pieces and ate 10 by the next morning (2 were saved for Jason). I love Sakura Mochi so much. The aroma of sakura from the flowers and leaves give such special nuances to this delicacy.

Here's my recipe:

Sakura Mochi

Yield: 12 pieces

Ingredients:
150 g domyoji-ko (cracked mochi flour)
12 pieces salt-marinated sakura leaves
12 pieces salt-marinated sakura flower
240 g anko (sweet azuki bean paste)
1 tablespoon sugar

Procedure:
  1. Soak the domyoji-ko with an ample amount of lukewarm water in a bowl for 10 minutes. Drain.
  2. Soak the sakura leaves and flower in water in separate leaves for 5 - 10 minutes. Remove them from the water and pat dry. Set aside.
  3. Divide the anko into 12 and shape each into a ball. Set aside.
  4. Get Mushi Nabe ready. Rinse a tenugui (thin cotton towel) and wring, then line the Mushi Nabe grate with it. There should be extra length of tenugui hanging from both side.
  5. Spread the drained domyoji-ko over the tenugui and wrap lightly with the remaining ends of tenugui from both sides. Cover with lid and steam for 25 minutes over medium-high heat. Turn off the heat and let it rest for 5 minutes.
  6. Transfer the steamed domyoji-ko to a bowl (you can lift the whole tenugui carefully and invert the contents into a bowl easily) and add the sugar. Mix with a spatula well.
  7. Set a bowl of water on the side. Wet both hands and take 1/12 of the domyoji-ko and flatten to a round shape.
  8. Take a piece of anko and wrap with the domyoji-ko nicely. Top a piece with a sakura flower and wrap with a sakura leaf. Repeat the process with the remaining ingredients.
Sakura Mochi can be stored in a tightly-sealed container up to 1 day in a cool place (no refrigeration).
Happy Donabe Life.

Friday, January 3, 2014

New Year Donabe "Oshiruko" Brunch

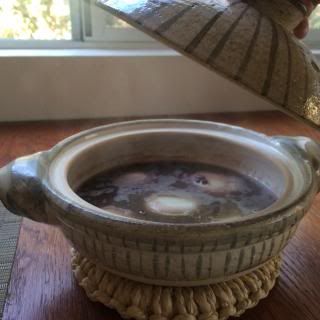
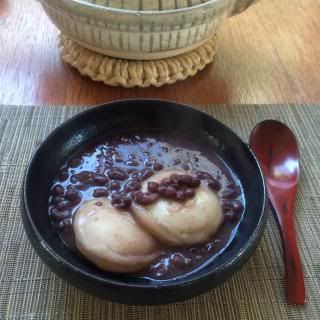
Donabe-simmered "Oshiruko" with baked mochi

A HAPPY DONABE NEW YEAR!!!

 photo IMG_0540_zps457d78d0.jpg
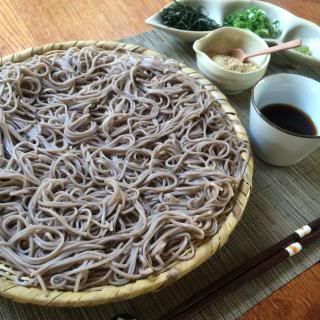
The final lunch of 2013 was our traditional new year's eve soba noodles ("Toshikoshi Soba"). In our (Japanese) culture, we eat soba on new year's eve to pray for health and longevity. I made classic cold soba noodle on a bamboo tray ("zaru soba") with dipping sauce and condiments.
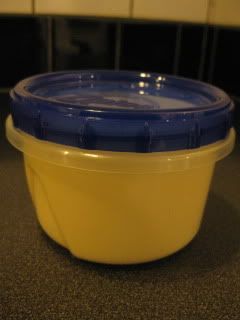
 photo IMG_0552_zps120e5954.jpg  photo IMG_0553_zpsbca77b4d.jpg  photo IMG_0615_zpse8b77556.jpg
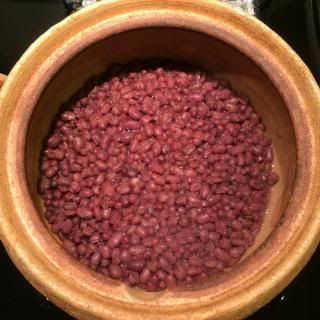
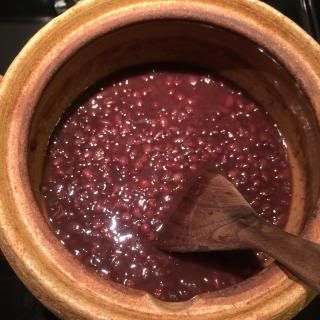
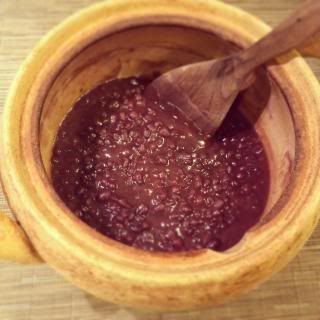
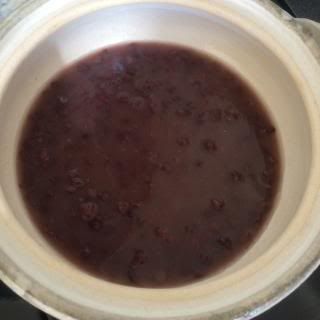
On New Year's Day, Jason and I started with sweet azuki bean stew ("Oshiruko") brunch. First, I made azuki bean paste in my Soup & Stew Donabe, "Miso-shiru Nabe". I braise the beans in the oven for 1 hour, and this slow and gentle process makes the really flavorful and delicate bean paste. You can find my sweet azuki paste ("anko") recipe in toiro kitchen's website. I made the "anko" a day before, so it was ready to go on New Year's Day.

 photo IMG_0594_zps9d195711.jpg  photo IMG_0595_zps485e1d6c.jpg  photo IMG_0596_zpsbe745a02.jpg  photo IMG_0598_zps5b706fb1.jpg
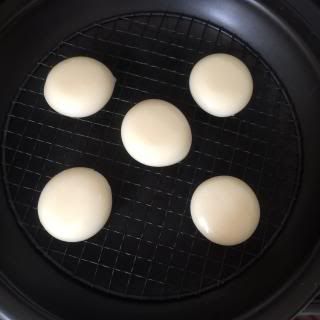
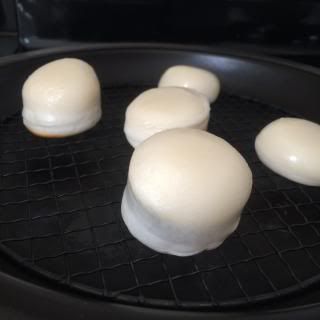
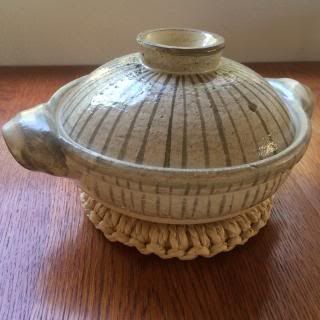
About 1 cup of "Anko" was added to my mini-size classic-style donabe, "Rikyu-Tokusa" and diluted with some water (about 2: 1 ratio). While the mixture was being heated, I baked mochi in my tagine-sytle donabe, "Fukkura-san". I just set a grate on Fukkura-san's skillet (pre-heated over medium-high heat), laid mochi pieces, cover with lid and cooked until the mochi were puffed. So easy!

 photo IMG_0604_zpsbd0dbd1f.jpg  photo IMG_0605_zps06e66474.jpg  photo IMG_0610_zps8788bcae.jpg
Finally, mochi were added to heated azuki stew and served at the table. Our New Year Oshiruko was so delicious and I felt a lot of good luck coming!

Happy Donabe 2014!

Sunday, December 22, 2013

Donabe-steamed Matcha Steam Cake

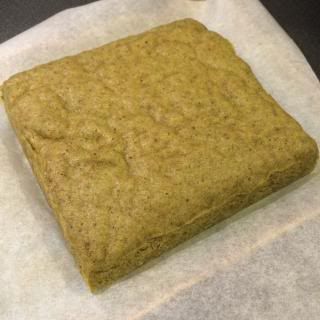
Donabe-steamed Matcha (Green Tea) Cake

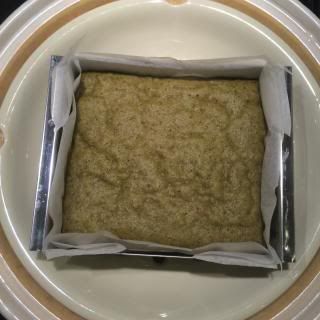
Steamed cake, steamed buns, steamed manju (sweet bean paste filled dumplings)…I like steamed desserts and my donabe steamer, "Mushi Nabe", does the wonderful steaming job and makes it more fun to make them.


 photo IMG_0246_zps2e3cf527.jpg  photo IMG_0247_zpsa920aab1.jpg
Steamed matcha cake, right out of the donabe steamer smelled so nice! You can enjoy while it's warm, or after it's completely cooled down. The cake can be stored in a tight-sealed container at a cool place for a few days.

The recipe is really easy!

Matcha Steam Cake
(for large donabe steamer, "Mushi Nabe")

Ingredients:
(I used 5 1/2" x 6 " or 13 cm x 15 cm mold, but you can use different size/ shape of heat-resistant mold which can fit the donabe steamer)
3 oz (90 g) whole wheat flour
1/2 tablespoon matcha (green tea powder)
1 teaspoon baking powder
1 large egg
2 oz (60 g) raw brown sugar
1 1/2 oz (45 g) butter, melted and cooled down
1/4 cup (60 ml) heavy cream
a pinch of salt

Procedure:
  1. Get Mushi Nabe ready and steaming.
  2. Sift together the flour, matcha powder, and baking powder. Set aside.
  3. In a bowl, whisk together the egg and sugar until smooth.
  4. Stir in the butter and heavy cream. Add the salt and whisk further until all the ingredients are well blended and smooth.
  5. Line the mold with parchment paper and pour the batter. Smooth the surface with a spatula.
  6. Set the mold in steaming Mushi Nabe. Cover with lid and steam for 13-15 minutes, or until a skewer inserted in to the cake comes out clean, over medium-high heat. Turn off the heat and let it rest for a few minutes.
  7. Remove the mold from Mushi Nabe. Once the cake has cooled down enough to handle, remove the cake from the mold. Slice and serve. You can enjoy the cake while it's still warm or after it's completely cooled down.
The delicate and spongy donabe-steamed cake is simply so gorgeous and hard to stop eating!
The recipe is also available on toiro kitchen's website.

Happy donabe life.

Thursday, September 27, 2012

Honey Saikyo Miso Soy Milk Ice Cream...soy power


Here's my Saikyo Miso & Soy Milk Ice Cream.  If you prefer your ice cream to be made with cow's milk, you can certainly use it instead of soy milk.  Miso is added at the very end of the cooking process, so the flavor and good enzyme of the miso stay alive when the ice cream is ready.  It's one of the most popular ice creams I make at home.

Honey Saikyo Miso Soy Mili Ice Cream

Ingredients
2C soymilk
1C heavy cream
150ml honey
3  large eggs (whole eggs)
1/2C  Saikyo miso

Procedure
1.  In a pot, combine soymilk, heavy cream, and honey.  Scald over low-medium heat.  Turn off the heat.
2.  In a large bowl, whisk the eggs.  Gradually add the scalded liquid as you whisk, so that the heat won't coagulate the eggs.
3.  Transfer the mixture to a clean pot and scold again over low heat.  Turn off the heat and strain through a fine-mesh sieve into a bowl (this is the custard).  
4.  In a separate bowl, add the saikyo miso and gradually whisk in the strained custard.  Refrigerate the mixture until very cold for a few hours or longer.
5. Set the mixture into an ice cream machine to finish.

Sunday, July 8, 2012

Pistachio and Pistachio


I got tons of premium quality pistachios from my friend's family farm.  So, I've been enjoying using them on both savory and sweet dishes.

Pistachio ice cream has become one of my favorite homemade ice cream.  This time, I made super fine puree of pistachios with the honey ice cream batter before putting them in ice cream machine.  The result was rich and very smooth ice cream with huge nutty flavor!

Photobucket
I also made sencha green tea & pistachio cookies with whole wheat flour and almond meal.  Really nicely flakey and gorgeous.

Let's go green:-)

Friday, March 16, 2012

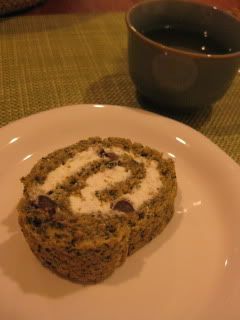
Amazake & Yomogi Rolled Cake


Another amazake dessert recipe I created...

I made sponge cake with dry yomogi weed (mugwort, from Aomori) and homemade donabe-fermented amazake. Then, rolled with amazake-cream & amanatto (sweet bean) filling.

Photobucket
Another HOME RUN!
The sponge came out so delicately textured, with the subtle sweetness. The filling also gave nice balance with the sponge. I loved it so much.

Here's how I made it:

Yomogi Amazake Rolled Cake

Ingredients
3 egg white
45g raw brown sugar
3 egg yolks
45g wheat flour, sifted
3 g dry mugwort (you can find it at Japanese grocery store)
2 tablespoons heavy cream
3 tablespoons amazake base

(filling)
100ml heavy cream
50 ml amazake base
50 g amanatto (sweet red beans)

Procedure
1. Make meringue by whisking egg white. Add sugar a little by little while whisking.
2. Add egg yolks one by one while whisking.
3. Fold in flour by a spatula. Add dry mugwort and mix.
4. Add the cream and amazake and mix.
5. Pour into a 8"x11" sheet pan (lined with parchment paper), and bake in the 375F oven for 15 minutes or until ready. Cool down.
6. Meanwhile, make the filling by beating the heavy cream until stiff peaks form. Fold in the amazake and amanatto. Keep the mixture refrigerated until ready to use.
7. Take the cake out to a surface gently. Spread the filling to 2/3 of the surface from the end closer to you. Roll gently. Slice and serve.

Happy donabe and koji life.

Tuesday, March 13, 2012

Homemade "magic" sake-kasu pound cake with amazake


I want to thank my double-lid donabe rice cooker, KAMADO-SAN, for not only making delicious rice every day, but also for making my koji life extraordinary. With KAMADO-SAN, I make my own Makkoli (Korean-style rice wine) and Amazake. Then, I not only enjoy Makkoli & Amazake on their own, I can create other delicious dishes with them.

Photobucket Photobucket Photobucket Photobucket
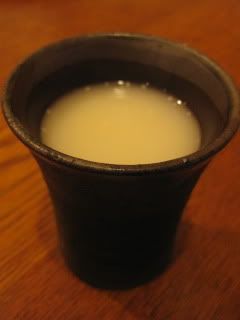
With Kamado-san, my makkoli always turns out exceptional quality. I use Champagne yeast and kefir culture to ferment my makkoli, so it's got the real sophisticated taste.

Photobucket
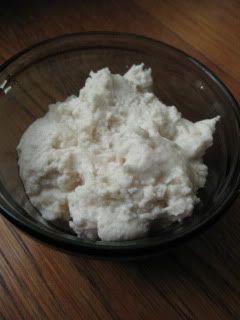
After straining liquid, the "leftover" is sake lees (we call it "sake-kasu"). It's another wonderful by-product. My sake-kasu has a real special fresh flavor. It also keeps rising after separating from liquid and become even more aromatic. So, I call my sake-kasu "Magic Sake-kasu".

Photobucket Photobucket
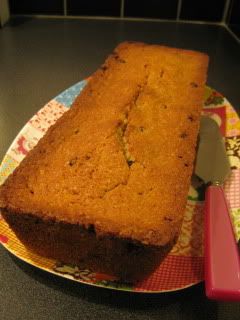
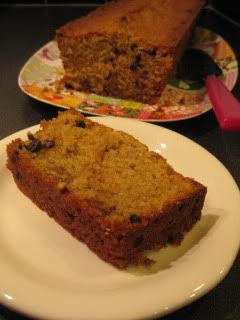
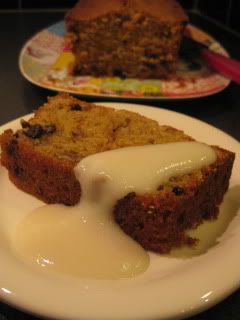
With this magic sake-kasu, for dessert, I like to make Sake-kasu pound cake. It's very simple to make, and the flavor is always...wow...it's like tasting the super fresh draft nigori-sake in the cake!

Photobucket Photobucket Photobucket
And, guess what, to serve this magic sake-kasu pound cake, I even drizzle freshly-fermented and pureed donabe amazake base. You can't ask for any better combination.

Here's my recipe:

Magic Sake-kasu Pound Cake

Ingredients
(for accuracy, I normally scale ingredients by grams when making dessert)
150g wheat flour
50g almond powder
1 teaspoon baking powder
180g raw brown sugar
2 sticks + 2 tablespoons butter, room temperature
2 tablespoons olive oil
100g sake-kasu
3 eggs, room temperature
70g dry currant (I use it because I had so much at home, but you can use raisin or other dry fruit)
50g roasted walnuts

Procedure
1. Whisk butter until smooth. Add sugar and whisk more.
2. Add olive oil and sake-kasu and whisk further.
3. In a ball, whisk eggs. Add the whisked eggs to the butter mixture (while still whisking) in 10 times.
4. Sift together flour, almond powder, and BP. Set aside.
5. Add the flour mixture to the butter mixture in 3 batches and fold in with a spatula gently.
6. Fold in currant and roasted walnuts.
7. Oil a large loaf tin and dust with flour. Pour the cake batter.
8. Bake in 350F oven for 1 hour or until it's done.
9. Cool down. Slice and serve with amazake base.

Happy donabe koji life.

Sunday, February 26, 2012

Donabe - Amazake - Scones


Crazy donabe - mushroom - koji lady here.

Photobucket Photobucket
With my homemade Amazake, made in my double-lid donabe rice cooker, "Kamado-san", this time, I made...

Photobucket
SCONES!
I've completed my new Amazake scone recipe, and it's fantastic. They are almost guilt-free scones, because they got so much amazake in it!
They came out so tasty that Jason ate 6 of them in the morning, and I had to stop him from eating more. The good news is that these scones are much healthier, because only 2 tablespoons of sugar is used for the entire batch (16 scones) and the rest of the sweetness comes only from amazake. Also, amazake gives creaminess to the scones, so there is no heavy cream used in this recipe (but I still like to serve it with cream on the side:-) The amazake cream I serve with the scones is also super tasty with the very natural mellow sweet flavor of amazake in it.

Here's my amazake scone recipe.

Amazake Scones

Ingredients
2C (about 10 oz) whole wheat flour
1T BP
2T raw brown sugar
1/4 tsp salt
6T cold butter, sliced
1/2C dry currants
1 egg
5 oz amazake base

(Amazake cream - optional)
6 tablespoons heavy cream
3 tablespoons amazake base

Procedure
1. In a bowl, whisk together whole wheat flour, baking powder, raw brown sugar, and salt. Cut in butter (with a pastry blender).
2. Toss the mixture by hand until the mixture is nicely smooth and flakey. Add currants.
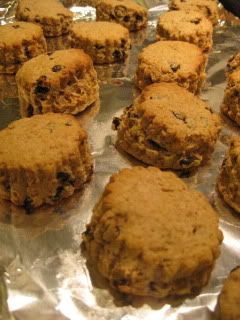
3. In a separate bowl, whisk together egg and amazake base. Fold the mixture into flour mixture by a spatula.
4. Once they are mostly mixed, knead gently by hand.
5. Roll it out to 3/4" thickness. Cut and bake at 425F oven for 13-15 minutes.
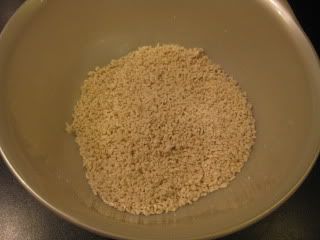
6. To make amazake cream, whip heavy cram until almost firm. Gently fold in amazake base. Serve with the scones.

(To reheat the scones)
Simply put them in a toaster.

Photobucket
Jason's amazake morning...enjoying freshly-fermented amazake, amazake scones and amazake cream.
Happy donabe - koji life.


Sunday, December 18, 2011

Making Amazake from scratch...with DONABE


Although it can be enjoyed throughout the year, Amazake is a very popular and also traditional drink for winter in Japan. Amazake doesn't only tastes delicious, but also is known for its remarkable health benefits...rich in Vitamin B, fiber, and full of active enzymes. Just like miso, we also drink amazake for our health. (I found a good link about Amazake here.)

So, what is Amazake? It literally translates into "Sweet Sake", because just like sake, it's also made from rice, koji, and water. But, unlike regular sake, amazake doesn't contain alcohol. Cooked rice and rice koji (rice, inoculated with koji mold) are fermented together and koji enzyme breaks the starch in rice and turns it into sugar. There is no sugar is added, but the result is a very sweet creamy thing!

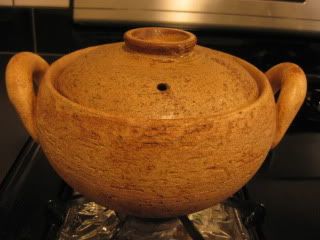
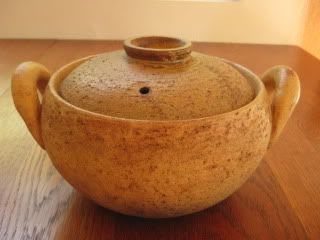
With donabe, you can make authentic Amazake at home. I would recommend Soup & Stew Donabe, Miso-shiru Nabe, for its size and also exceptional heat-retention ability. Here's how to make Amazake with donabe.

Photobucket Photobucket
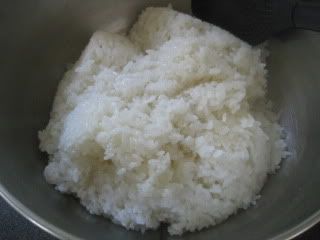
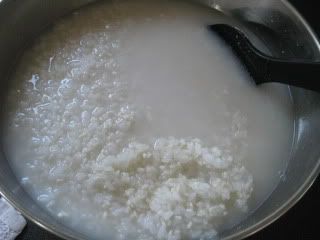
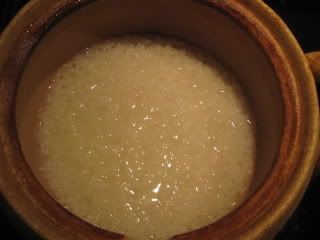
Get ready 200g rice koji. Rub them together by hands until slightly fragrant. In "Miso-shiru Nabe", combine 1 rice-cup (3/4 US cup) sweet rice and 500 ml (about 2 US cups) water. Bring to simmer over medium-heat (with the lid on). Once it starts simmering, turn down the heat to low-simmer. Cook until it becomes turns into porridge. (about 15 minutes).

Photobucket Photobucket
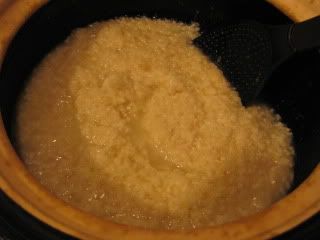
Turn off the heat and let it rest until the porridge temperature is about 150F degrees. (40-45 minutes) As soon as the temperature is 150F, add the rice koji and mix well.

Photobucket Photobucket
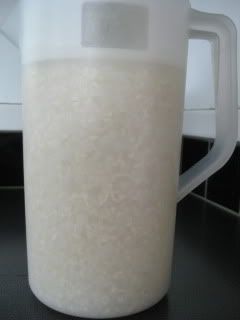
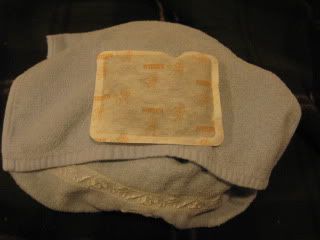
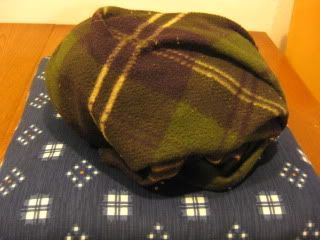
Quickly cover with lid again and wrap with a towel. Put disposable hand-warmers (one in the bottom and one on the top) and wrap again with a blanket. Let it rest for 8-10 hours. Make sure that it doesn't get too hot or too cool inside. It's very important to keep the inner temperature at around 125-140 for the fermentation to take place.

Photobucket Photobucket Photobucket
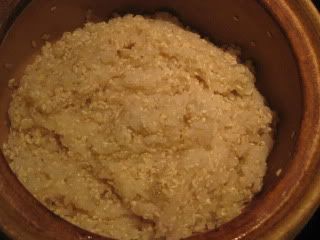
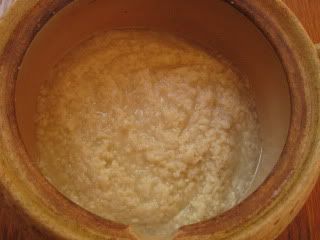
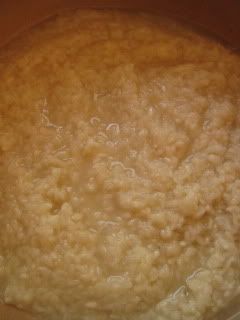
Unwrap and remove the lid...Amazake base is ready! The aroma is so beautiful.

Photobucket Photobucket
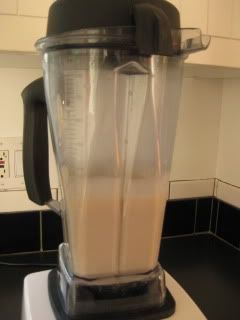
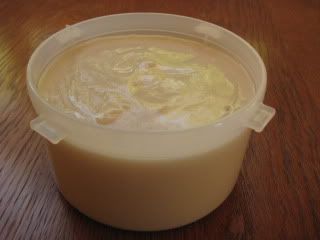
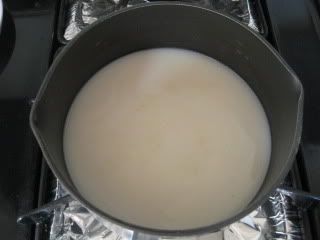
To make it smooth, I put it in a blender (VitaMix), but you can also enjoy the course-style amazake.

Photobucket Photobucket
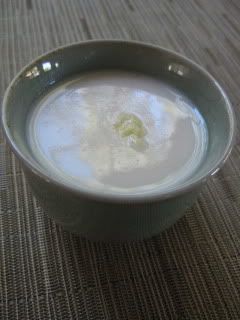
To enjoy in a traditional way, combine amazake with equal amount of water and just warm it on the stove. Add a little amount of grated ginger to serve. The flavor of my donabe-made amazake is so serious and so delicious. It's milky, sweet, and very natural. I must say my homemade amazake tastes better than any commercial amazake I've tasted...haha.

Photobucket Photobucket
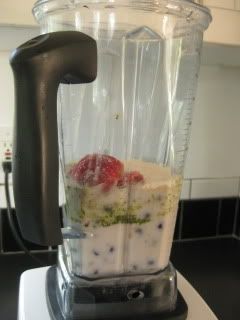
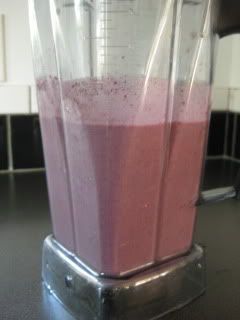
Amazake can be enjoyed in many other ways...you can mix in drinks, make dessert, etc. I also use my amazake in my power smoothie. So nice.

Happy donabe life.
Healthy Amazake life.