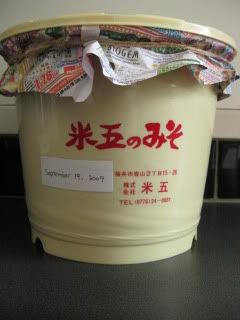
Tuesday, September 29, 2009

Chicken Tomato Curry & Rice with Doanbe ("Miso-shiru" Nabe and "Kamado-san")


Thanks to my donabe pots, I enjoy making "Curry & Rice" (we call it Karei Raisu) more than ever. I tweaked my sister's Chicken Tomato Curry recipe to make it my own version.
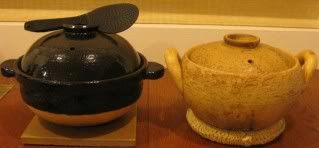
Photobucket

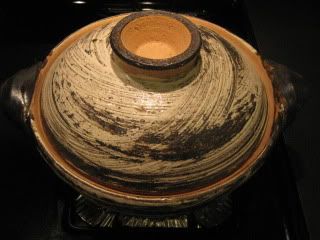
Tonight, I used the double-lid donabe rice cooker, "Kamado-san", and the soup & stew donabe, "Miso-shiru Nabe".

Here's the recipe for the curry...

Ingredients
1 pound chicken thighs, cut into 2" cubes
2 tablespoons flour
1 small bitter melon, seeds removed and sliced thinly
1/2 medium-size kabocha pumpkin, cut into cubes
1/2 medium-size carrot, peeled and cut into small cubes
1 tablespoon olive oil
1 tablespoon butter
2 medium-size onion, minced
2 clvoes garlic, minced
1 knob, ginger, minced

(spice mixture)
1 teaspoon turmeric
1 teaspoon cumin seeds
1/2 to 1 teaspoon cayenne pepper
2 teaspoons curry powder

1 can (16 oz) diced tomatoes
1-1/3 cups chicken stock
2 bay leaves

1 teaspoon garam masala
salt and pepper
olive oil


Procedure
1. In the soup & stew donabe, "Miso-shiru nabe", saute the onion with 1 tablespoon of each olive oil and butter until caramelized over medium-heat.
2. Add the garlic and ginger, and continue to saute until fragrant.
3. Add the spice mixture and continue to saute until fragrant.
4. Add the diced tomatoes (with the juice), chicken stock, bay leaves, kabocha, and carrot. Bring to boil, reduce the heat to simmer. Skim as necessary.
5. Close the lid and simmer until the vegetables are tender. (about 15 minutes)
6. Meanwhile, season the chicken pieces with salt and pepper. Dredge them with the flour.
7. In a separate pan, heat 1 tablespoon of olive oil and saute the chicken until browned over medium-high heat (the chicken doesn't have to be cooked through). Add the bitter melon slices and continue to saute for another 1-2 minutes.
8. Add the chicken and bittermelon to the curry mixture. Add the garam masala and stir. Season with salt and pepper.
9. Close the lid again and continue to simmer for another 10 minutes. Turn off the heat and let it rest for 5-10 minutes.
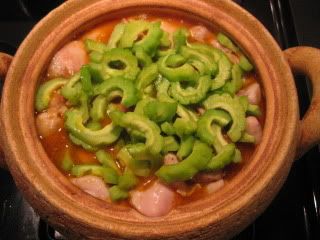
Photobucket Photobucket
After adding the half-cooked chicken and bitter melon, cook further for 10 more minutes. The curry will be ready.
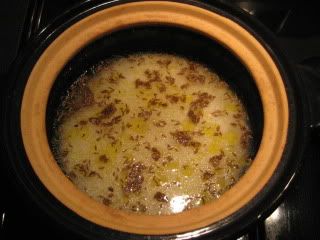
Photobucket Photobucket Photobucket
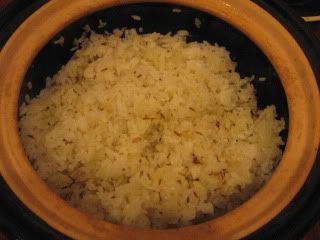
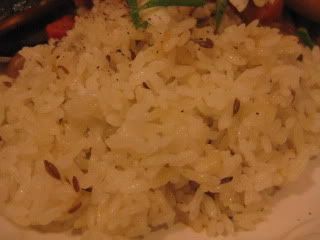
This quick donabe cumin rice was so great, too. To make the 2 rice-cup amount, I simply substituted 2 tablespoons of water with the olive oil. Then, added the 2 teaspoons of cumin seeds and a little shy of 1/2 teaspoon of salt before start cooking. By cooking it with the double-lid donabe rice cooker, "Kamado-san", the rice came out extremely shiny and had the savory crust on the bottom.

Photobucket
The Curry & Rice I made with two different donabe pots were simply phenomenal. The texture of the vegetables was succulent, and flavors were so deeply integrated.

For more info about the double-lid donabe rice cooker, "Kamado-san", and soup & stew donabe, "Miso-shiru Nabe", please check out toiro's website.

Monday, September 28, 2009

Cooking "Karei no Nitsuke" (Braised Flounder) with Donabe


Fish "Nitsuke", or braising fish, is one of the very common Japanese rustic dishes. To call yourself a good (Japanese) home cook, "Nitsuke" is also one of the basic cooking techniques you must have.

Photobucket
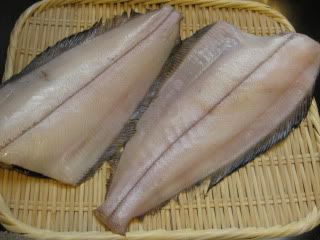
I bought already-cleaned whole Karei (flounder) fish. The first and probably most important step for making the good "Nitsuke" is to do "Shimofuri". It means to quickly blanch the ingredients (fish, in this case) before start braising. By doing so, it will remove the sliminess and smell from the fish. It will also prevent the braising broth from becoming cloudy.

One way is to put the fish in the boiling water for a brief period of time (time varies depending on the size of fish) and immediately transfer it to the ice bath. Another way is to pour the boiling water over the fish. Today, I just poured the boiling water to both sides of the fish and quickly rise them with the cold water.

Photobucket
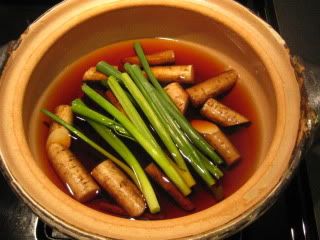
Then, I started the broth. In the classic-style doanbe, I combined 2 cups (500 ml) dashi stock, 100 ml sake, 100 ml soy sauce, and 100 ml mirin. I brought it to simmer with some gobo root and green part of scallions. Once the gobo root is tender, I gently placed the fish on top and waited until the broth started simmering again. Then, I placed an "Otoshi Buta" (drop lid - you can substitute it with a piece of parchment paper or foil), and covered with the top lid.

Another important step for "Nitsuke" is to gently simmer the fish, especially when you are handling a delicate fish like Karei (flounder). If the heat is too high, the fish could fall apart in the cooking broth and/or the broth becomes cloudy.
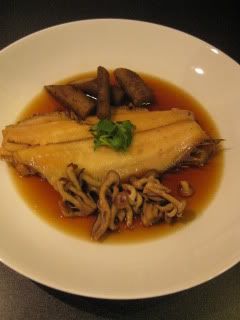
I simmered the fish for about 10-12 minutes or until the broth is reduced by more than 1/3. At the end, I added the shimeji mushrooms and sliced ginger, and cooked for another couple of minutes. Because of the gentle even distribution of the heat of the donabe, the fish becomes tender without getting dry when it's done.

Photobucket
The fish was plated. We enjoyed the dish with the donabe rice. The fish had the beautifully delicate texture and the flavor had the natural pure sweetness. Donabe brought my "Nitsuke" dish to another level for sure!

For more information about the classic donabe, please check out toiro's website.

Friday, September 25, 2009

Chiken and Bitter Melon "Tamago-toji" (Classic-style Donabe, "Hakeme")


This is a very homy rustic Japanese dish. It's so easy and almost impossible to fail as long as you have the good quality ingredients.

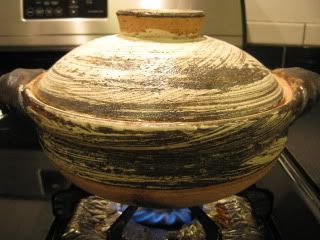
Classic multi-purpose donabe is the perfect vessel for this dish. You can cook everything in it and serve the whole pot at the table.

Photobucket Photobucket Photobucket Photobucket Photobucket
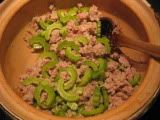
Saute the ground chicken with a little sesame oil.
Once the meat is almost cooked through, add the minced shallot and stir.
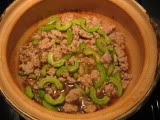
Add the sliced goya (bitter melon) and stir.
Add the broth (dashi, soy sauce, and mirin) and simmer with the lid on.


Photobucket Photobucket
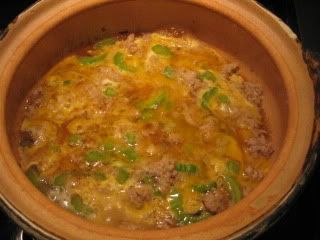
Pour the beaten eggs, and sprinkle the shredded ginger. Close the lid on again and cook for 1-2 minutes. Turn off the heat and let rest for 2-3 minutes with the lid on.


The egg is fluffy, the broth is so soothing, and chicken & bitter melon have the great flavor combinations. It's hard to stop eating it with the freshly cooked fluffy rice!

You can find the complete recipe on toiro's website. Please check it out.
Wednesday, September 23, 2009

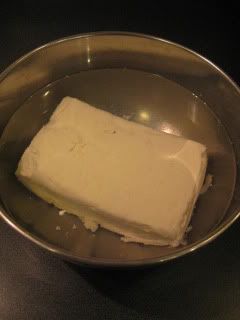
My first "rectangular" homemade tofu!


I've been making "unshaped" homemade tofu such as "zaru tofu" and "sukui tofu" for quite sometime, but this time I got to try making the rectangular-shape tofu for the first time.

After making the miso from scratch, I didn't have enough time or energy to make the soy milk from scratch (from soy beans), so I got the high quality soy milk from my regular vendor, Meiji Tofu.

The process is slightly different from the the unshaped tofu and also I use the mold to shape it into rectangular. I didn't have a chance to take pictures of the process this time, so I will write the recipe next time.

Photobucket Photobucket
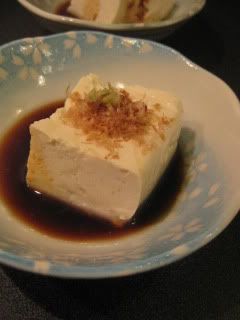
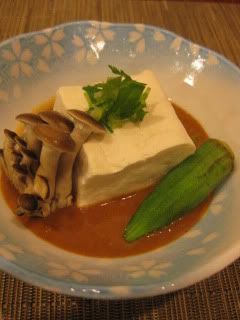
Look, this is my tofu! For the first taste, I made the simple Hiya-yakko (chilled square tofu) with wasabi and soy sauce. Amazing!


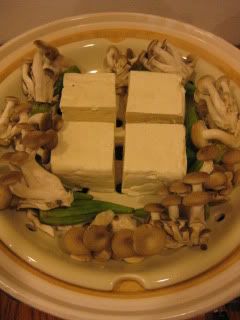
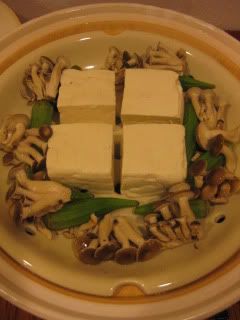
Then, I steamed the tofu with the shimeji mushrooms and okra.

Photobucket Photobucket
After 5 minutes, they were ready.

Photobucket Photobucket
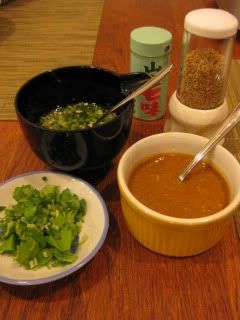
They were served with the homemade sesame sauce and other condiments. The tofu tasted so delicious that I wanted to cry!!! Seriously,

Monday, September 21, 2009

How To Make Miso (Homemade Miso)...Making Miso from Scratch


I started making my own miso!


Photobucket
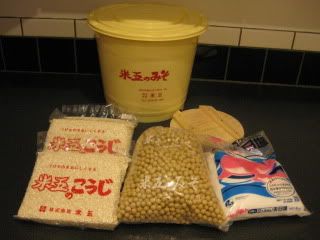
I ordered the ingredients from Komego from Fukui Prefecture, Japan (same region as my chabudai is from), and brought them back to Los Angeles. This traditional producer has been making miso for about 180 years since Edo Period. They make many different kinds of premium miso. Their homemade miso making set includes, Toyomasari soy beans from Hokkaido, Tenpi-jio (air-dried sea salt), and kome koji (malt rice), which are the three main ingredients for making miso.

Here's my report of full process.

Photobucket Photobucket Photobucket
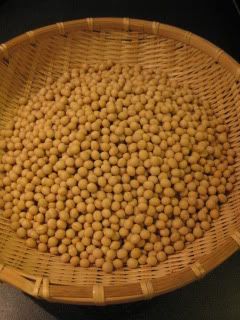
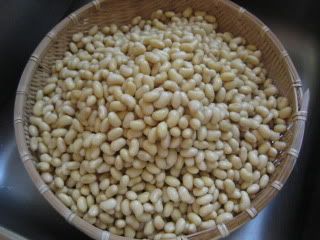
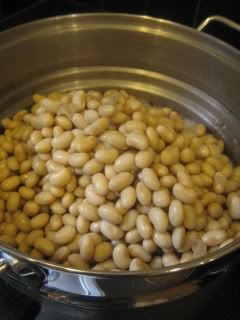
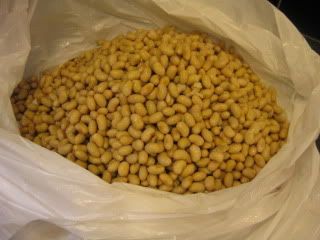
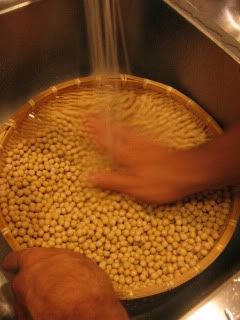
Beautiful soy beans (1.3 kg) are soaked with water overnight. Then, drained and rinse well.

Photobucket Photobucket Photobucket
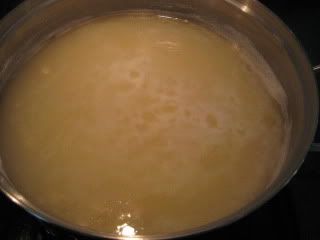
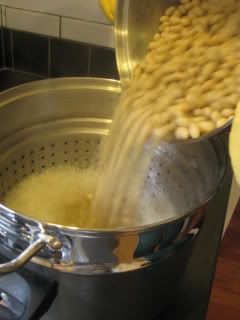
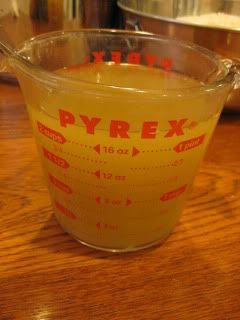
In a large pot, add the soy beans and water. Bring to a boil and reduce to simmer. Skim as necessary. Simmer until the beans are soft. Add more water if the water is reduced too low. It took me just about 4 hours for the beans get cooked. Separate the beans and cooking water. Keep the cooking water. Cool down the beans a touch.

Photobucket Photobucket Photobucket Photobucket
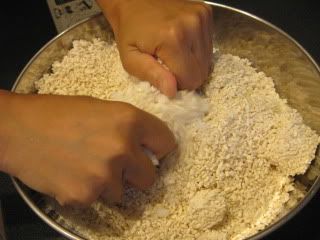
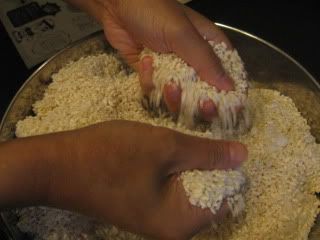
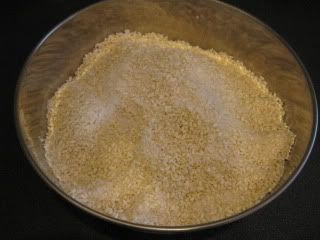
Meanwhile, combine the salt (630 g) and kome koji (1.5 kg) in a large bowl. Make sure to finly break all the crumbly chunks and all the kome koji grains are covered with the salt. Kome koji is the malt rice which is moulded with the koji seeds. It's used as the starter for making miso as well as sake. It had the nice smell which reminded me of sake fermentation. In a separate cup, combine the water from cooking the soy beans (500 ml) and salt (65g) and set aside.

Photobucket Photobucket Photobucket
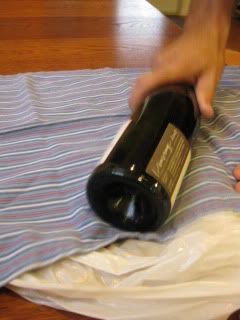
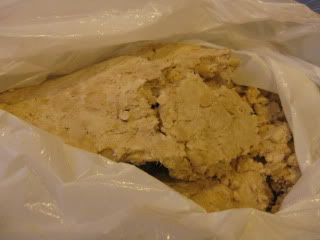
While the soy beans are still very warm, put them in a plastic bag (we used a trash bag), cover it with a towel, and mash with an empty bottle until the beans are almost like paste.
Photobucket Photobucket
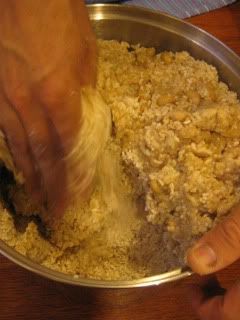
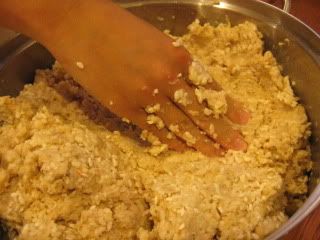
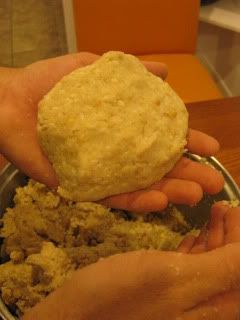
In a very big pot (or a bowl), combine the mashed soy beans, salt-kome koji mixture, and cooking water-salt mixture by hand. Mix well until they become the tight paste.
Photobucket Photobucket
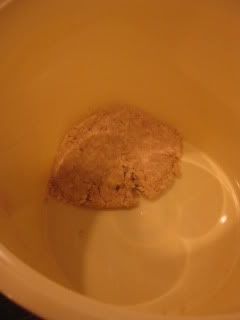
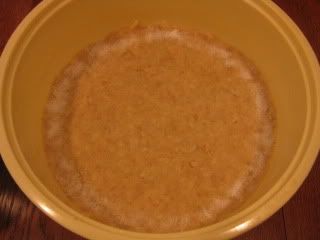
Transfer the mixture into a barrel. Take a handful of the mixture at a time and press well. Throw it to hit the inside bottom corner of the barrel to make sure the air is out. Continue with the rest of the mixture.
Photobucket
Once all the mixture is transferred to the barrel, press again to make sure the mixture is air-tight. Press the rim with the salt (5 g). The salt will help preventing the surface from growing mold.

Photobucket Photobucket
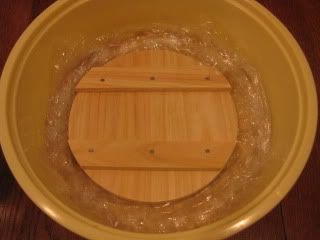
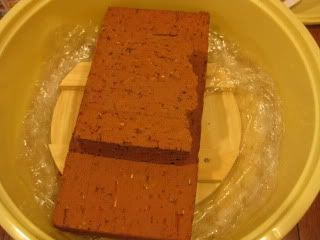
Line the surface with a plastic wrap, then put the inner lid and the weight (about 1.8 kg).

Photobucket
Put the outer lid and cover with a piece of old paper, then tie the top with a string tightly. The barrel should be kept in the cool area. The miso should be ready in 6-8 months (it will take longer if you make it in the cooler climate area, or start it in the winter time). Since Los Angeles has the warm climate, after the first month, I will open to check it, then stir the mixture so that the bottom part can come to the top. This process is necessary for the even fermentation because the top part, which is in contact with more air tends to ferment faster while bottom part doesn't.

But, if you make it in the winter in the cool climate area, you need to open the lid and stir the mixture for the first time after you make the miso. After this process, tightly press the mixture again, cover the surface with a new plastic wrap, put the weight back on and tightly cover again just like the first time.

I will start tasting the miso mixture probably after 5-6 month then taste every month to see if it's ready.

Photobucket
Wow, it was a long and pretty labor-intensive process to make the miso. Jason helped me a lot with the physical labor. We totally had a blast making it for the first time and think the result will be worth all our effort. I want to make the miso making our yearly tradition! The beer tasted so good after we are finally done with our first miso making. Kanpai!


Miso